Creating basics stimuli
This will take you through the steps to draw two grating stimuli on the screen for a fixed period of time.
Step 0
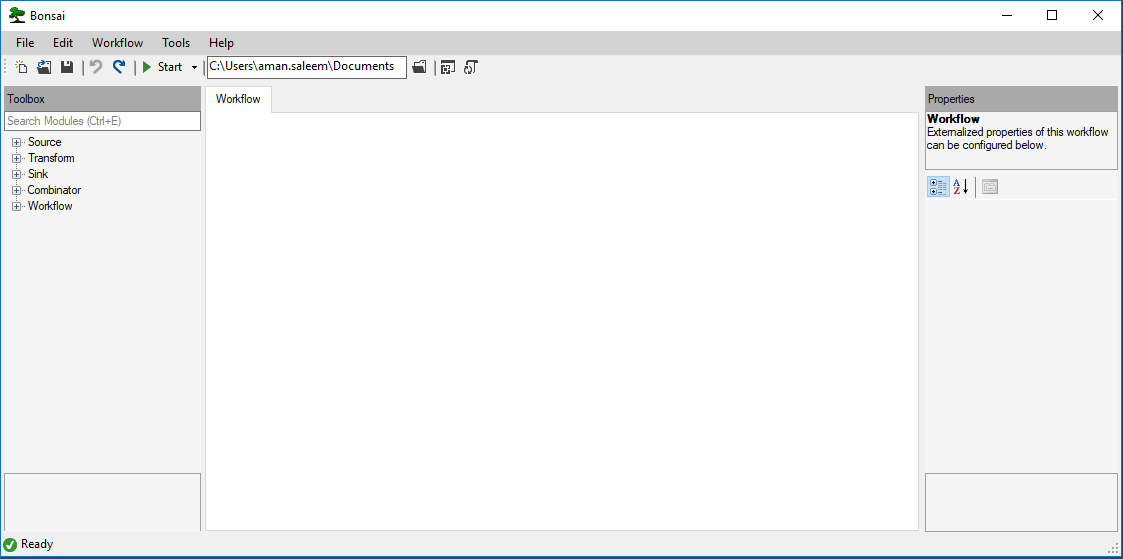
Start Bonsai and start a new project
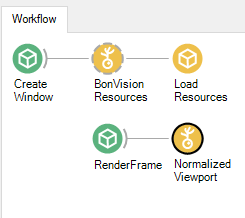
Step 1: Initialize
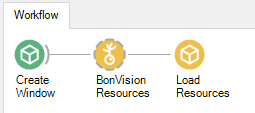
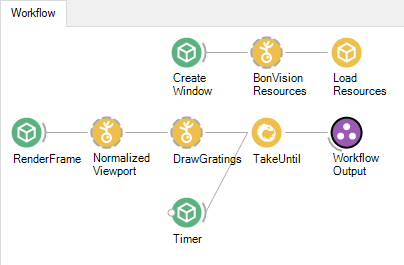
All BonVision workflows need to start by creating a display window and loading the basic resource. This is done with three nodes: CreateWindow, BonVisionResources and LoadResources.
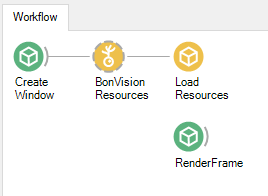
Step 2: Add RenderFrame
Stimuli start with a RenderFrame node.
This node passed the render command from the graphics card.
At this point we need to add a coordinate frame. For simplicity lets use NormaliszedViewport This defined coordinates of the window as -1 to 1 along x and -1 to 1 along y
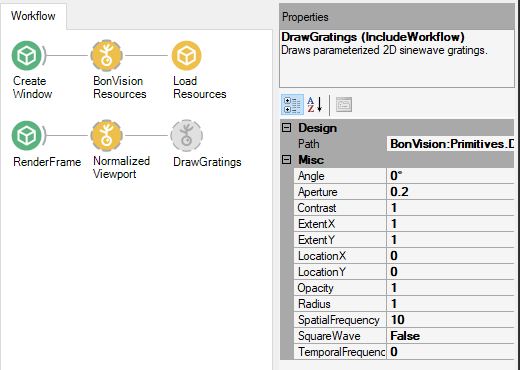
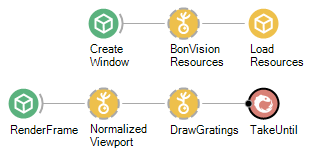
Step 3: Add stimulus
Now we are ready to draw stimuli. We can add the node DrawGrating
Step 4: Test the grating
You can have a look at the stimulus by hitting Start in the options. _Note: on some occasions you might not see the window, in case the window location is outside the screen. In this case, double click ‘RenderFrame’ and adjust the location parameter (see troubleshooting below)
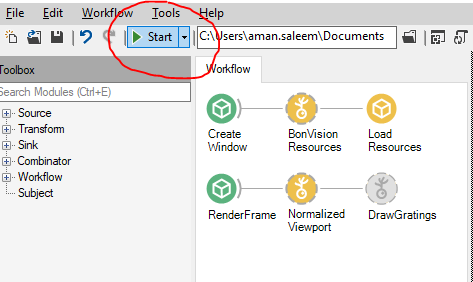
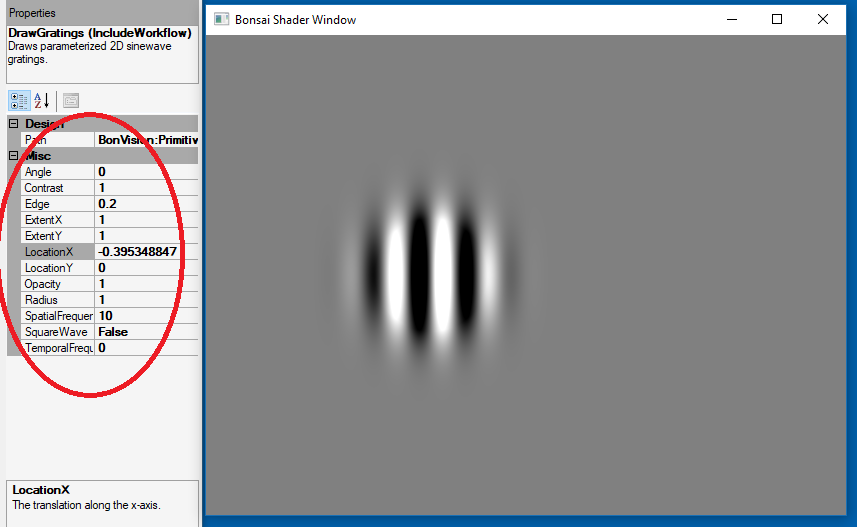
Hitting start should open up a window showing the grating. You can play around with the parameters of the grating, Live by changing them on the right side of the screen
You can exit by hitting the Stop button
Step 5: End the Stimulus at 5s
The next step is to limit the drawing to a limited time. For this we can use the TakeUntil node from Bonsai.
You will notice this shows up as Red, this is because this needs some kind of argument that tell it when to stop transmitting the inputs. Since we want to end the stimulus in 5s, we can use a Timer node from Bonsai.
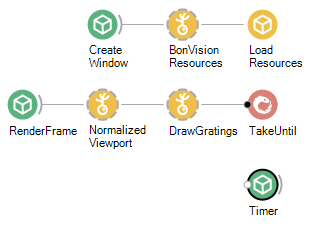
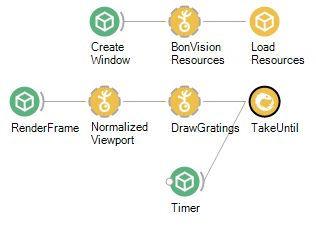
We then connect the Timer to TakeUntil
And set the time on the timer on the right hand side, under Due Time
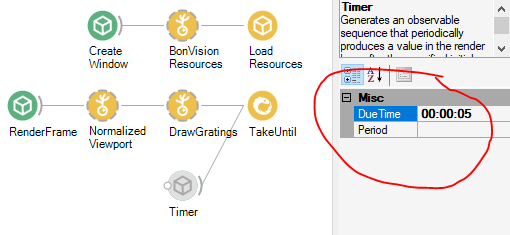 The stimulus when run, will run for just 5s.
Step 6: Add Workflow Output
Step 7: Add Behavior Subject to enable multiple stimuli generation
The easiest way to create multiple stimulus is to split the output of NormalizedViewport to multiple listeners, which will then draw the stimuli. We do so by “Broadcasting” using BehaviorSubject and adding “Followers” using SubscribeSubject First add BehaviorSubject:
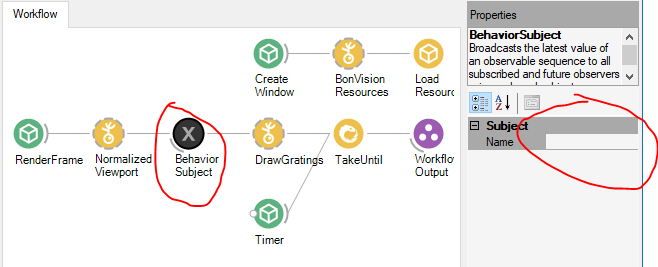
Make sure to name it. As a Convention we always use DrawStimulus as the name here.
We can then subscribe to this by adding SubscribeSubject and choosing DrawStimulus from the dropdown list on the right
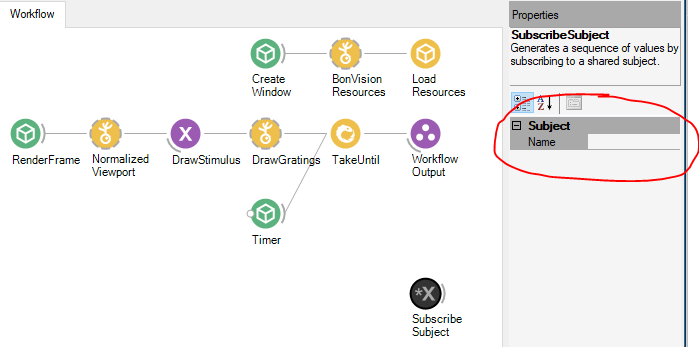
DrawGratings can now be removed from the top row and placed next to the new node:

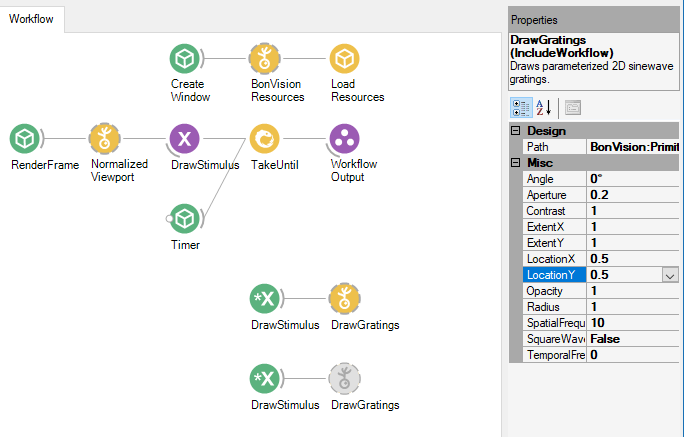
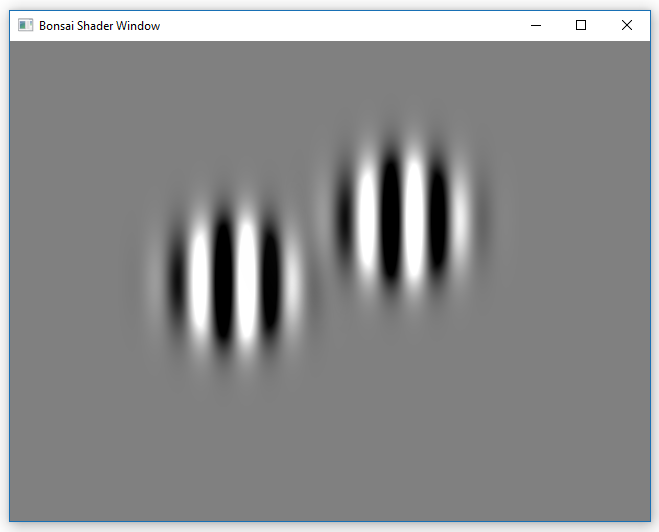
Step 7: Make multiple stimuli using Behavior Subject
Adding a second stimulus is now quite straightforward. Just choose the two nodes at the bottom, copy and paste them. So see them differently make sure to change the parameters of one of the gratings on the right side menu.
This is the final output image example:
Done!
Troubleshooting
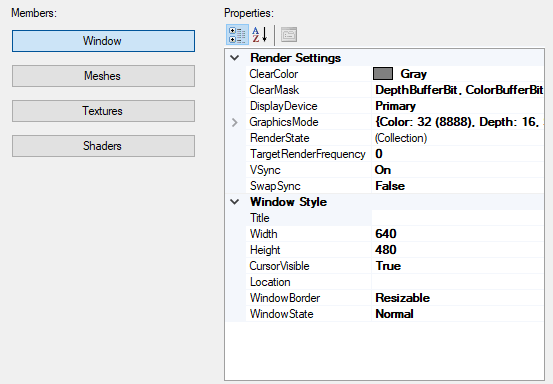
In case you do not see a window on the screen after hitting Start: double click ‘RenderFrame’ and adjust the location parameter: